Showing posts with label DIY stuff. Show all posts

Saturday, July 15, 2017

DIY fun summer danglers

Welcome back everyone, as for today I'm going to share with you all my latest DIY rainbow dangling earrings.  I was thinking that how it's fun to wear something colorful behind all the black veils and think onix hair as I am referring to the Goths out there.  For the non-Goth people, I hope this would be a fun simple crafting for you as well.

I guess let's get started.  Please say hello to my work/crafting table.  Pardon the messiness btw.

Basically not much stuff needed in this project.  You might have all of them wondering in your pile of junk but anyways I'm still mentioning them to make this post to be lengthy as it is suppose to be.


First of all you need rainbow beads.  I have like a bunch of them because I was so stressed out and all I can think about was bending some wires and make planner charms, which btw you can buy the on my online store *wink*

I have 2 rainbow flows as you can see below.  Then I added the pink tassle so I was like better to have the bead gradient ombre through all the colors including the tassle.  It's more neat I guess.


This is the arrangement of the beads.  Honestly I have no idea how to twist together the headpins with the main chain so that's why I used jump rings to connect them all.  


Adding bigger jump rings to the tassles.

And they're done!!!  Simple af!

Seriously it looks nice tho.

Here's my mandatory DIY guru selfie with the earrings.


Saturday, April 8, 2017

When the courier service gives you lemon...

I received this broken earring from my seller and managed to get a replacement pair on this one.  Broken but never forgotten accept for the international courier service though.

But it's good for me since I can keep this one for myself.


Why courier why?!!!!

I summoned the DIY spirits in me and began the surgery.


Seriously an unborn child could DIY this.  I cut off the other needle (wait what do you call the pointy thing?) and shave off the bumpy area with a toll that I can't even think of the name right now.  


I also bought this flat earstud base from Lovisa because I can't find any other store that sell a cheap version of this.  

Hot glue gun both gemstones and yassss I just saved a new pair of earrings.  
Had to use the packaging to see how expensive this piece of broken shit can be lol!!!! 


B*tch fab!

_______________________________________


Use my Zalora code for 15% off: ZBAPZDEB

Thursday, July 14, 2016

What am I up to these days | More goth room decor

I've planned for this curtain makeover like months ago so I'm literally 50% done with 2 rods and a piece of curtain.  Yep you haven't read it wrong, they sell it like 1 piece per pack so you gotta buy 2 packs to make your dreams came through and you money flies through your bank account.  

Basically, I have 2 unhooked rods laying over at the back of my study desk and a single curtain that I used as the door coverings.

So, I managed to drag my boyfriend to come together for curtain hunting, well not really a hunt as I've already got an eye for a few curtain designs that I liked, so we were having just a curtain-buying trip.  Also considered as a training for his legs before Ikea.

My room currently have this washed out yellow old granny kind of curtain and it really bores me.

We went out for some breakfast at the mamak first, had some roti canai and iced tea while I tried to be a lovable cat person but this cat despised me.

"Look me in the eyes you goddamn piece of cute shit!"

Turns out my boyfriend is her favourite hooman -.-''


After that we continue our hunting journey to Kaison

Look what I got!!!! 

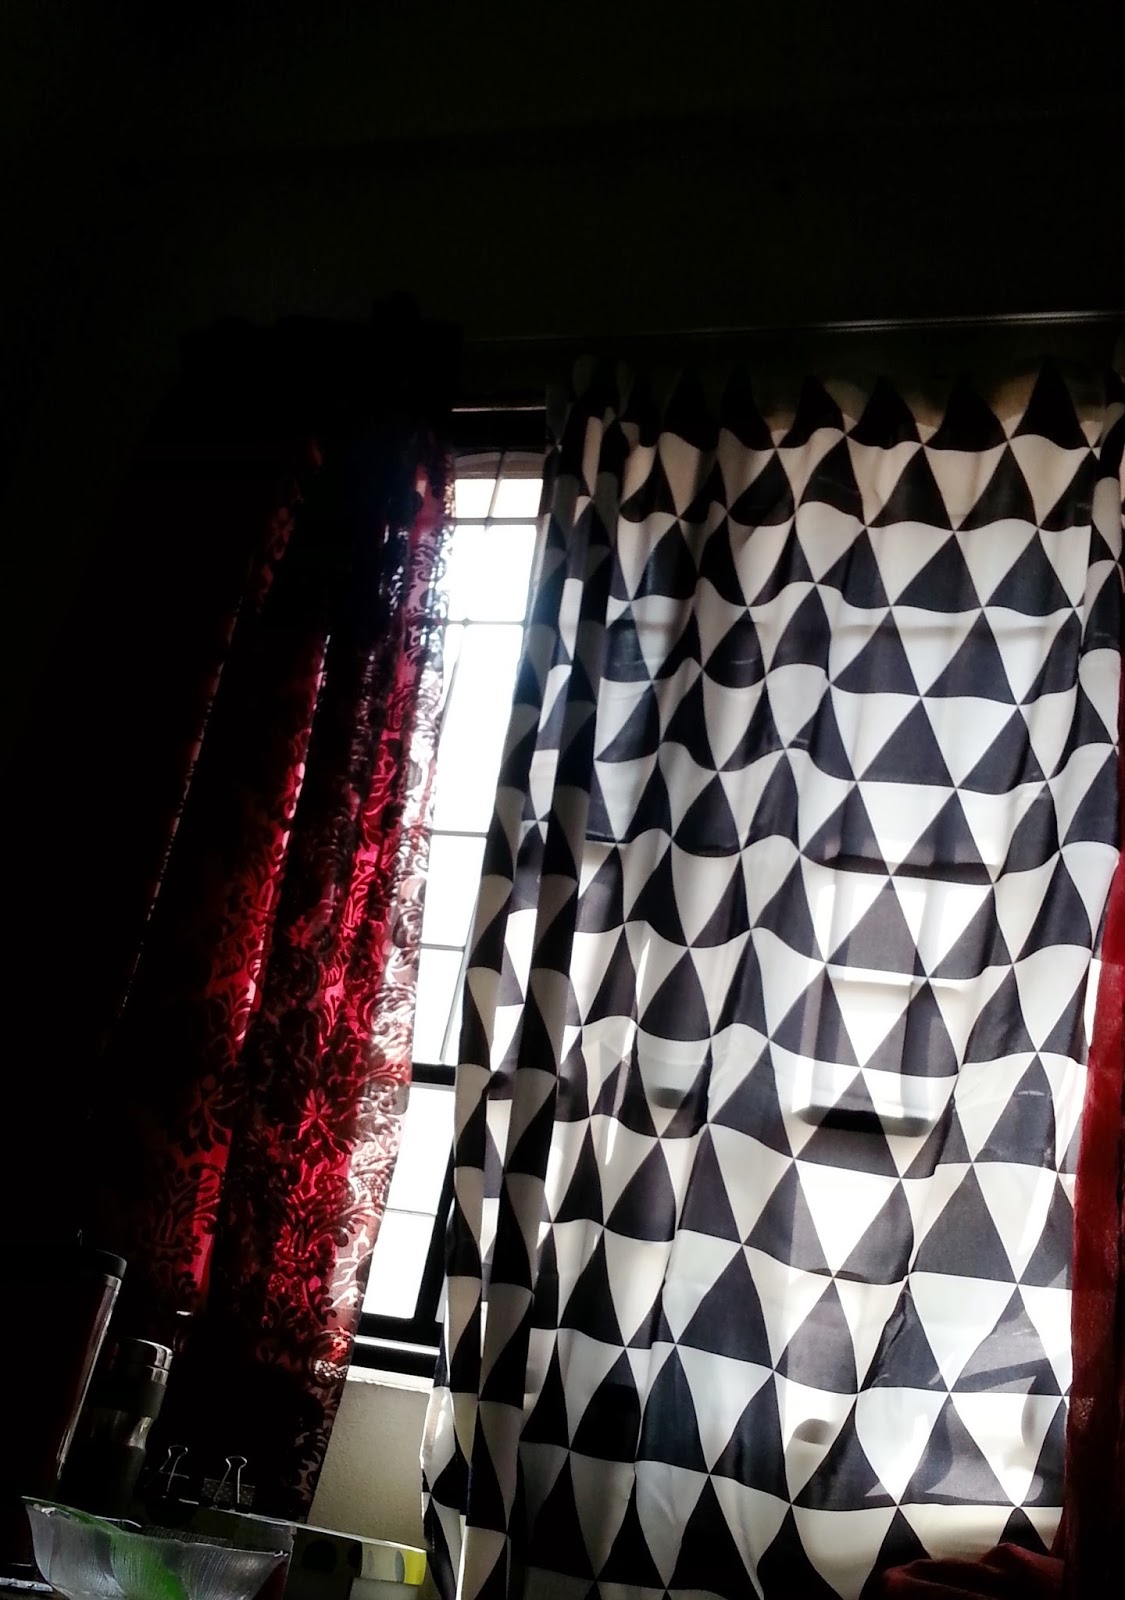
I bought 2 for the triangles and add another 1 piece for the red.  

The concept that came out of my mind was;

1) Using the black-white triangles as my day curtain because my room received a direct sunlight and heats up really fast.  So this curtain can cover my window and not altering the color ambience of my room, only making it dim and the material helps in less heat penetration.

2) While the black-red lace are used as my night curtain and darkeness-reflector when I turn off my light source at night, the room will be 20% darker as compared to when I'm using the washed out old yellow curtain. 


As I reached home, I jumped on my bed, remove the old curtain and started slipping through the hooks.

"classic french pleat"

.
.
.
.
.
.
.

The Goth-y Reveal:

Night

Day

I made a mistake for only hot glueing some loops to the back of the black-white curtains to loop through the bottom rod, so I fell right off the next morning.

"Sunbeam headshot"

So I bought 2 packs these hook clips from Daiso, which I felt like this was the most worthy purchase I've ever made in my whole entire life (lol), and I changed the whole looping system.


They are back up and be fabulous again.

*Proud*

"The look of this is wonderfully satisfying.  I just can't!!!"

~~~~~~~~~~~~~~~~~~~~~~~~~~~~~~~

Vanity update!

I've changed my makeup drawer into this acrylic one and it looks so much better and neat (well, after a makeup junk cleaning) compared to this.

SATISFACTION OF A MAKEUP HOARDER!!!


Thanks for reading!


posted from Bloggeroid

Sunday, February 28, 2016

DIY Gothic Lace Dreamcatcher 1 | Second dreamcatcher coming soon

Trust me, this project took more than 2 weeks for me to finish because I don't exactly have the right design that I want and I'm too dumb to think about the weaving method.  Failed a few times, so I just made using simpler options...

The basic is, find a hoop and cover the whole surface with rope or thick thread,  This is for texturing purposes.


Paint the whole thing in black or you can just cover everything with black yarn.  Be creative guys!!!


I missed snapping on these parts, so let me get you through it.

I glued 3 layers of lace, 2 at the front and 1 layer at the back.
Cut them according to shape.
Glued loose fleece on the rim of the hoop, because I had a little of creativity and now having lots of regrets.


To cover the glue stain, I bought a whole pack of yarn and glue it on the ugly part.  Also for texturing purposes.


Braided some yarn for the top loop hole.  


I also made a tassle using leftovers of yarn from the braid.


Now you just have to figure out how to add the strings through the small-holed lace material and hang it with the most wonderful command strip.

I had this one hanging above my headboard.

The next one will be on the opposite of my bed.


Hopefully this helps.

Happy crafting!
posted from Bloggeroid

DIY Room Scent Diffuser | 5 seconds of crap and darkness

I'm so obsessed with room scent especially the scent of Jasmine.  I did had to buy a few times because it evaporates quickly when I just pop the bamboo stick in the scent bottle.  So I had to do something that would save a lot of scent and at the same time, it last longer per dose..

I got some scrap tissue paper and cut them in any shapes or length of strip.


Cut one bamboo stick into smaller pieces because you need the liquid to absorb in them faster.


Get a shot glass or any appropriate size clear glass, put all the little pieces in it and pour the liquid into the glass until the sticks are soaked.


Stuff the tissue paper in the glass with each layers being sprayed or sprinkled with the scent.  

And there you have it...

I know, it's damn class...


posted from Bloggeroid

Saturday, January 30, 2016

Home Improvement | Bat Cave #1

So basically I moved out from my old room to a new space.

It was A LOT of work since you live with hoarders. 

I had a whole week of tumbling emotions because I need to clean up the stuff that they collected. 

Eg. Paperbags...paperbags everywhere...

Also I DIY-ed most of my decors

1) Candle Tray

So I found this metal tray and gotta freaking ruin it!


Black paint it is!!!


The outcome.  
I've added essence of gold at the rim to make it look like and old vintage piece.
Candle and used glitter washi tape.  
Yes the tape was on something else, threw it away and reused the tape.
I'm that cheap! ahahahaha


 2) Vanity table revamp + fairy lights.

This area was suppose to be my vanity area but had to share with my work table because the other table in the room is not ready yet.  
How it looks before...


Went to Kaison and found this.
FAIRY LIGHTS!!!!!!
I swear it felt like Christmas for the whole week.


Command hooks are da-bomb guys!!!  


More Christmas feeling...


This actually would make a cute floor light...


And TADAAAAHHHHH!!!!
I also DIYed the magnetic board with more washi tapes and believe it or not, those skull hangings actually are more than 6 years of age.  
I bought them during my baby bat days and finally able to used it when I'm 23.  
God!!! I feel old!

.  
Currently I'm using 2 planner which I use Kikki K for personal stuff and the binder for work stuff.

Upcoming DIYs

 I'm preparing a walk-in Goth closet in my very small room.

Gonna need black spray paint for this
This blog belongs to Amirah Y a.k.a Kak Long Wayer